How to Activate an eSIM on iPhone or Android
Most eSIM activations follow one of two methods:
- Scan a QR code (most common)
- Enter details manually (when QR scanning isn’t possible)
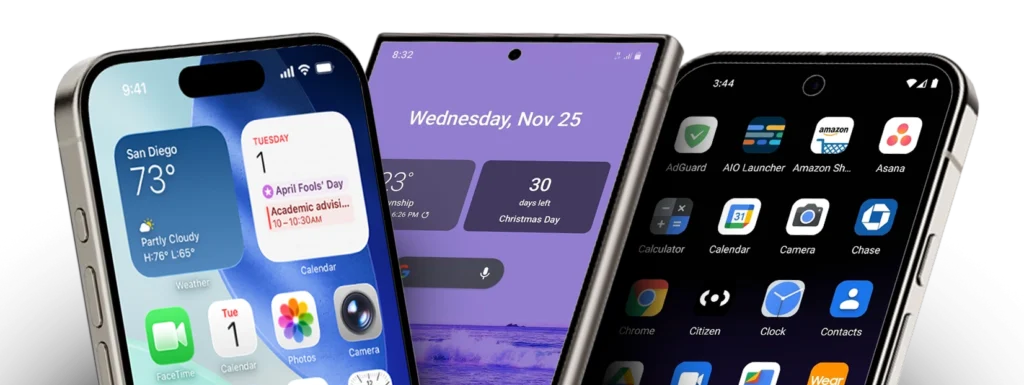
Apple’s official flow is Add eSIM / Scan QR / Add Plan, and Pixel’s is Settings → Network & Internet → SIMs → Add SIM → Set up an eSIM.
Step 1: Confirm You’re Ready
Before you start, make sure:
- phone is unlocked
- you have Wi-Fi
- you have your QR code (or manual activation details)
Option A: Activate by Scanning a QR Code (Most People)
On iPhone
- 1. Open Camera and scan the QR code
- 2. Tap Cellular Plan Detected
- 3. Tap Continue → Add Cellular Plan
- 4. If prompted, enter a confirmation code from the carrier
On Android
- Settings → Network & internet → SIMs
- Add SIM → Set up an eSIM
- Follow prompts to scan and install
On Samsung Galaxy (common path)
Samsung documents a typical flow: Settings → Connections → SIM card manager → Add mobile plan → Add using QR code.
Option B: Manual eSIM Setup (When You Can’t Scan)
If you see “Enter details manually,” you may be asked for:
- SM-DP+ Address
- Activation Code (sometimes called a matching/confirmation code)
Manual-entry guidance is widely consistent across platforms.
SpeedTalk Activation Notes (What to Expect)
SpeedTalk’s activation flow supports using eSIM or a physical SIM, depending on the device and the selection during activation.
SpeedTalk also notes you can request a replacement eSIM for an existing number if your device is compatible/unlocked.
Troubleshooting: Fix eSIM Activation Issues Fast
If eSIM won’t add or activate:
- Toggle Airplane Mode on/off, then retry
- Restart the phone
- Confirm phone is unlocked (locked devices often fail eSIM installs)
- Confirm Wi-Fi is stable
- If QR won’t scan, use manual entry (SM-DP+ + activation code)
If you installed it but have no data/calls:
- Ensure the eSIM line is set as Primary for Data (dual-SIM phones often default differently)
- Confirm the plan is turned ON in SIM Settings